This guide provides details about how to use MailChimp with OneCause Peer-to-Peer to send timely and relevant emails to participants and donors.
See the guide below or
click here to open it as a PDF
Why use MailChimp with OneCause Peer-to-Peer?
Connecting our platform with MailChimp allows you to automatically populate a MailChimp List with data about people who register for or donate to a Campaign.
By connecting our platform with your MailChimp account, you can:
- Personalize your MailChimp emails with merge tags
- Personalize the links in your MailChimp emails
- Add participants or donors to your MailChimp groups
- Use your MailChimp merge tags to further segment participants and donors
Steps for using MailChimp with OneCause Peer-to-Peer
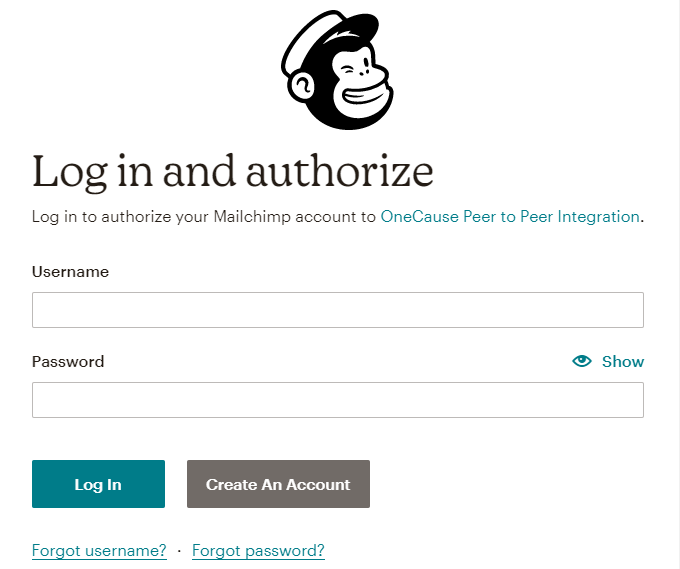
STEP 1: Connect your MailChimp account with our platform.
First, you need to give our platform permission to connect with your MailChimp account. Log into the Client Admin. In the Main menu, select ‘Settings’ then click on the ‘Integrations’ tab. Click on the ‘Connect’ button next to MailChimp and follow the prompts to connect your MailChimp account with our platform.
A window will pop up to log into your MailChimp account to give our platform permission to connect.
STEP 2: Define the data to sync to MailChimp for each Campaign site.
Now that you’ve connected your MailChimp Account with our platform, you can choose which data to sync for each Campaign. In the Campaign ‘Settings’ section, you’ll now see a tab for ‘MailChimp’ where you define the data to sync.
You must first set up in MailChimp your List, Groups and Merge Tags.The best practice is to have a single MailChimp Audience for everything you do in MailChimp and then create Groups within that audience.
Here’s how to define the data to sync between our platform and MailChimp:
1. Go to your MailChimp List, then ‘Manage Contacts’ and then ‘Groups’ to set up your Groups.
2. You’ll land on a screen to Add Groups.
We recommend you create Groups for participants and donors. If your site includes secondary event registrations, then you can create a Group for each secondary event as well.
NOTE: Since you’re not including these Groups in any MailChimp forms, you should check the option: ‘Don’t Show these groups on my signup form.’ We recommend your Group category name be the name and year of your Campaign site.
3. You’ll land on a screen to Add Merge Tags.
You can create Merge Tags for any of the fields you wish to sync from our platform.
Here is the list of fields available to map to your MailChimp Merge Tags:
Tip! Learn more about how to set up new fields and merge tags in MailChimp:
Go to MailChimp's Help Center and type in ‘merge tags.’ Then click on 'Getting Started with Merge Tags' to see instructions for adding custom fields for a list.
The image below displays the full list of available fields in our platform mapped to merge tags in MailChimp.
Be sure to read the important note about naming your merge tags.
IMPORTANT NOTE ABOUT NAMING FIELDS AND MERGE TAGS IN EACH CAMPAIGN:
When you have more than one active Campaign site on our platform, then it’s possible a user can register for more than one Campaign at a time. Since MailChimp is typically set up to have one master list, then there is a one-to-one relationship between merge tags and a user. We recommend you give the below “Campaign-specific” fields in our platform a unique MailChimp field label and merge tag name for each Campaign site:
Registration Type
Team Leader
Funds Raised
Challenge/Campaign Name
Team Name |
Fundraising Minimum
Fundraising Goal
Team Funds Raised
Team Fundraising Goal
Participant Page URL
|
To do this, just add a unique identifier in both the field label and merge tag name. For example: the field label for Registration Type could be ‘Reg Type NYC’ with the corresponding merge tag name ‘RegTypeNYC’.
STEP 3: In OneCause Peer-to-Peer, map the data in each Campaign site to your MailChimp Audience, Groups and Merge Tags.
Once your Audience, Groups and Merge Tags are set up in MailChimp, you can map the data you wish to sync from OneCause. You define this for each Campaign site.
Log into the Client Admin. Go to the Campaign site. From the Campaign menu, click to expand the ‘Configure Campaign’ menu, then select ‘Settings’ and then the ‘MailChimp’ tab.
You’ll land on a screen to map your MailChimp List, Groups and Merge Tags.
First, select your List and your participant and donor Groups.
If you have secondary events, you can select Groups for one or more of these.
Next, map the OneCause Peer-to-Peer fields you to your MailChimp Merge Tags.
STEP 4: Create and send your emails in MailChimp.
Once your data is mapped, you can create and send emails in MailChimp that include merge tags and personalized links populated with data from OneCause. For details about personalizing your emails, see our Using Merge Tags and Links guide.
Your OneCause Peer-to-Peer data will sync daily with MailChimp at 9:00am UTC. However, you may update MailChimp at any time by clicking on the ‘Start MailChimp Export’ button.
FINAL NOTE: In addition to using MailChimp to send timely, personalized emails, be sure to make the most of the Messages built into our platform.
Our
Using Merge Tags and Links guide will help you further personalize Transactional Messages. Our
Messages: Milestones guide will help you make the most of our milestone badges and messages features.