OneCause has created OneCause Connect to help you integrate your OneCause activity with Salesforce. You may use OneCause Connect to import or export supporters/contacts and gifts (including item & monetary donations, ticket sales, fixed price purchases, and silent/live auction winnings) between your events and Salesforce.
Contents:
Installing OneCause Connect
Walk-Through of Application (video)
Getting Started with OneCause Connect
Import Field Mapping Defaults
Importing/Exporting Supporters
Importing Gifts
Importing Gifts - User Input Values
Security and Permissions
Installing OneCause Connect
To get started, ensure you have installed version 3.0 or greater of Salesforce's Nonprofit Starter Pack, provided by the Salesforce Foundation. For the most up-to-date installation instructions, please check the Nonprofit Starter Pack section of the Foundation’s website.
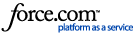
Next, simply go to this link and follow the on-screen instructions to install OneCause Connect. You'll need to have Salesforce administrator privileges to complete the installation.
Walk-Through of Application
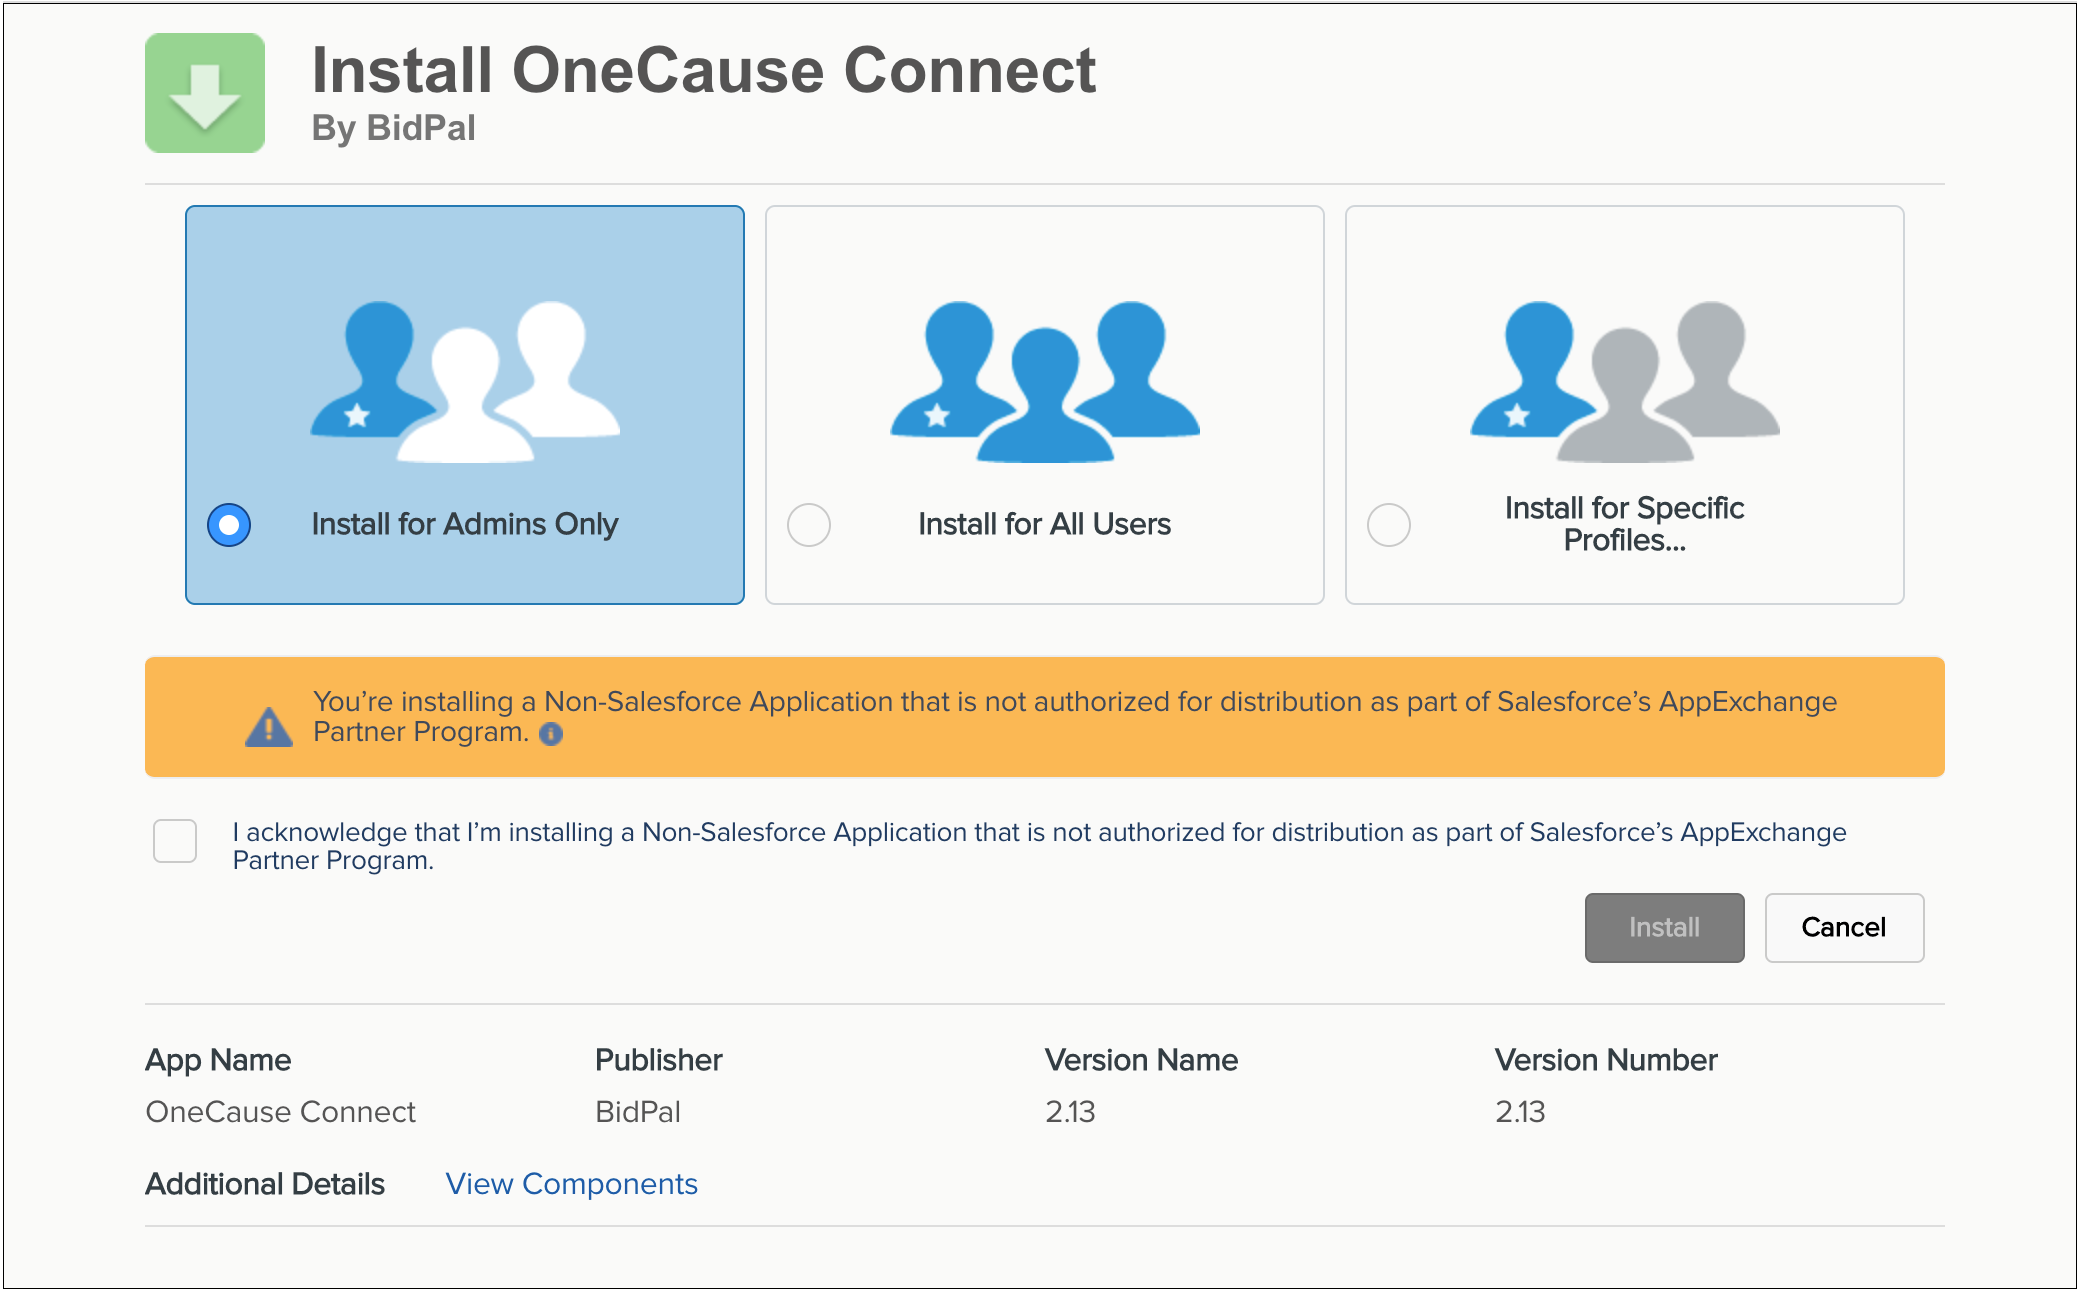
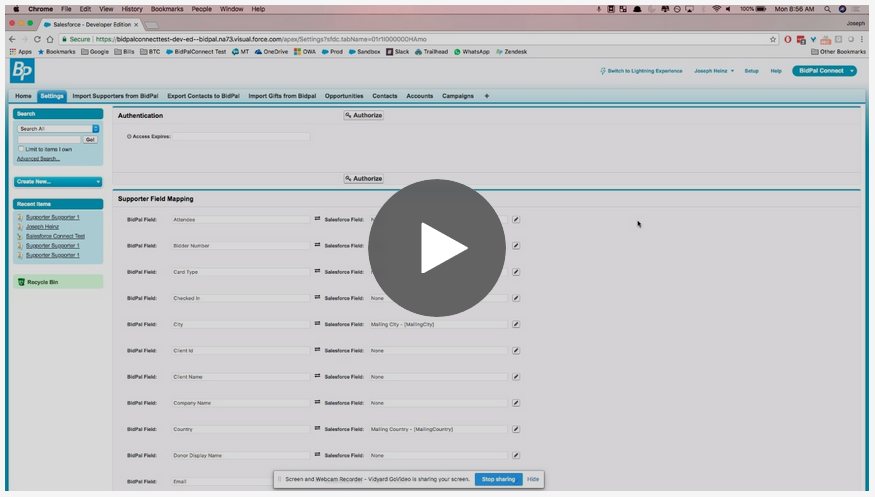
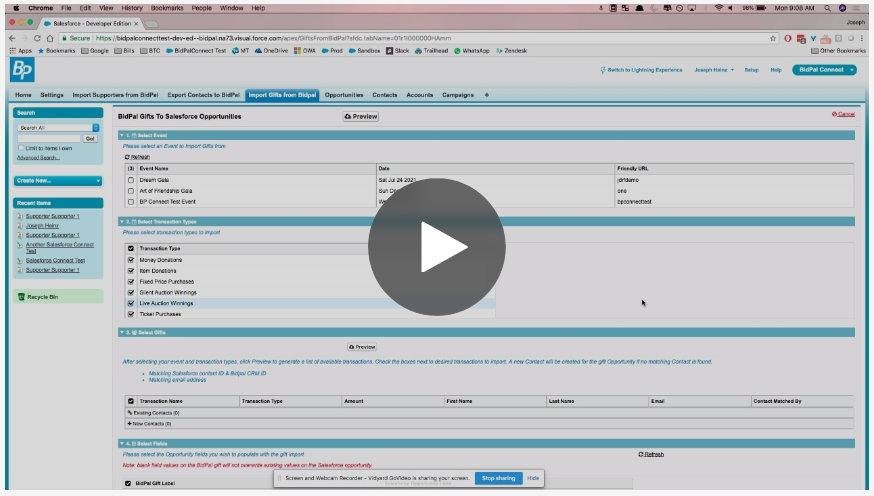
Click the image above, or click here for full screen, for a thorough walk-through of the application
Getting Started with OneCause Connect
1. Find the App. Once installed, you can navigate to the OneCause Connect app by logging in to Salesforce. From the application drop-down menu (top right corner in Salesforce Classic; 9 dots in top left corner in Lightning) select "OneCause Connect."
2. Authorize your OneCause Connection. Authorize (or re-authorize) your connection to OneCause by going to the Settings tab, selecting the Authorize/Re-authorize button, and then signing in with your Planner credentials. You will be redirected back to Salesforce, where your OneCause authorization will be stored for 24 hours. Remember to refresh your OneCause Access Token if your authorization has expired!
3. Map Import/Export Fields. Under the Settings tab, find the desired OneCause field, select the pencil icon next to the corresponding Salesforce field, and select a field from the dropdown menu.
Tip! Each field can only be mapped once; if you cannot find the Salesforce field you are looking for in the mapping dropdown, double check that it is not already mapped to another OneCause field. To unmap a field, select the "None" option in the dropdown.
Import Field Mapping Defaults
Supporter Fields
| OneCause Field | Data Type | Description | Default SF Field |
|---|
| Attendee | Checkbox |
0 = Attendee flag unchecked
1 = Attendee flag checked
| None |
| Bidder Number | Text(10) | Bidder # field | None |
| Card Type | set('VISA','MC', 'AMX','DSC') | Merchant of the supporter's Express Checkout card | None |
| Checked In | Checkbox |
0 = Checked In flag unchecked
1 = Checked In flag checked
| None |
| City | Text Area(255) | City portion of supporter's physical address | Mailing City - [MailingCity] |
| Client ID | Text15) | | |
| Client Name | Text Area(255) | Combined name when multiple supporters share the same Bidder # (e.g. John & Jane Smith) | None |
| Company Name | Text Area(255) | Company Name field | None |
| Country | Text Area(255) | Country Supporter lives in | Mailing Country - [MailingCountry] |
CRM Id | | Supporter CRM ID | Id (this mapping cannot be changed) |
| Donor Display Name | Text Area(255) | Optional display name used to recognize item donor (Supporter Edit > Item Donations tab) | None |
| Email | Email or Text Area(255) | Supporter Email field | Email - [Email] |
| Event Id | Text(10) | BPE Code for the event (always displays 1) | None |
| Event Name | Text(255) | Event Name (Setup > Preferences > Event tab) | None |
| First Name | Text(255) | Supporter First Name field (Doesn't Work) | First Name - [FirstName] |
| Item Donor | Checkbox |
0 = Item Donor flag unchecked
1 = Item Donor flag checked
| None |
| Last Four Digits | Text(4) | Last 4 digits of the supporter's Express Checkout card | None |
| Last Name | Text(255) | Supporter Last Name field | Last Name - [LastName] |
| Masked Card | | | |
| Phone | Text(20) | Supporter Mobile Phone # field | Business Phone - [Phone] |
| Primary Contact | Checkbox |
0 = Supporter is a Secondary Contact for a Bidder #
1 = Supporter is the Primary Contact for a Bidder #
Doesn't work
| None |
| RSVP | Text(255) | Yes, No, or Tentative Doesn't work | None |
| State | Text(255) | State portion of supporter's physical address | Mailing State/Province - [MailingState] |
| Street | Text(255) | Street portion of supporter's physical address | Mailing Street - [MailingStreet] |
| Street 2 | Text(255) | Street portion of supporter's physical address if second line is needed NOT USABLE? | None |
| Supporter Id | | | |
| Table Number | | | |
| Ticket Id | Text(10) | Ticket # of supporter's assigned ticket | None |
| Ticket Package Name | Text(255) | Ticket Package Name of supporter's assigned ticket | None |
| Type | tinyint(1) |
1 = Company supporter type
2 = Person supporter type
| None |
| VIP | tinyint(1) |
0 = VIP flag unchecked
1 = VIP flag checked
| None |
| ZIP | Text(10) | Zip code portion of supporter's physical address | Mailing Zip/Postal Code - [MailingPostalCode] |
Gift Fields
| OneCause Field | Data Type | Description | Default SF Field |
|---|
| Auction Mode | text(255) | Type of gift: Silent Auction, Live Auction, Donation, Fixed Price, Ticket Purchase, Misc Charge, or Item Donation | None |
| Category | text(255) | Category (only applies to won/purchased silent auction items) | None |
| Gift Certificate Status | | | |
| Item/Package # | text(10) | Package # | None |
| Item/Package Description | text(255) |
Package Name (for Silent Auction, Live Auction, Donation, or Fixed Price)
Ticket Package Name(s) (for Ticket Purchases)
Misc Charge Description (for Miscellaneous Charges)
Item Name (for Item Donations)
| Description - [Description] |
| Item/Package Name | text(255) | | |
| Item/Package Value | text(10) |
Package Value (for Silent Auction, Live Auction, or Fixed Price)
Ticket Package Value (for Ticket Purchases; total value of all ticket packages purchased in a single transaction)
Item Value (for Item Donations)
| None |
| Notes | | | |
| Procurement Status | | | |
| Quantity Purchased | text(10) |
Quantity of a Fixed Price purchase
| None |
| Transaction Amount | number(10,2) |
Amount of gift
| Amount - [Amount] |
| User Defined 1 | | | |
| User Defined 2 | | | |
Importing and Exporting Supporters
BEFORE the event: Export Salesforce Contacts to OneCause. Get a head start on your event by using OneCause Connect to upload your Salesforce Contacts into OneCause as Supporters using the following steps:
1. Go to the Export Contacts to OneCause tab.
2. Select the OneCause Event to export Salesforce Contacts to under the "Select Event" section.
3. Select the desired Salesforce Contacts to export under the "Select Contacts" section. Create new or use existing Salesforce views to narrow down the list.
NOTE: You may export up to 2,000 Contacts in a single sync. If your number of Contacts to export exceeds this number, please use in multiple batches.
4. Select the data fields to map under the "Select Fields" section. Remember that you can change which OneCause and Salesforce fields map to each other under the Settings tab!
5. Select "Export" to move the selected Contacts to OneCause. You will be able to review a list of the results on a subsequent page.
NOTE: OneCause supporters that were exported from Salesforce will have the CRM ID field automatically populated, linking them to the corresponding Salesforce Contact.
AFTER the event: Import OneCause Supporters into SF. Ensure your Salesforce data is up to date by using OneCause Connect to transfer OneCause Supporters back into Salesforce as either new Contacts or updates to existing Contacts using the following steps:
1. Go to the Import Supporters from OneCause tab.
2. Under the "Select Event" section, select the OneCause Event from which to import supporters.
3. Select the "Preview" button at the top of the page to generate a list of supporters from the selected event under the "Select Supporters" section. Choose the desired supporters to import as Contacts.
4. Select the data fields to map under the "Select Fields" section. Remember that you can change which OneCause and Salesforce fields map to each other under the Settings tab!
5. Select "Convert" to sync. You will be able to review a list of the new/updated Contacts on a subsequent page.
NOTE: OneCause Connect will attempt to prevent duplicate records by identifying Salesforce contacts whose SF Contact ID matches a OneCause supporter's CRM ID. If no ID match is found, we will attempt to find matching records based on email address. If a single Salesforce contact and OneCause supporter can be identified as a match, we will update the existing record with any changed information; otherwise, a new Salesforce contact (if importing) or OneCause supporter (if exporting) will be created.
Tip! Remember to refresh your OneCause Access Token if your authorization has expired!
Importing OneCause Gifts
After the event, you may wish to sync OneCause gifts with your Salesforce account. OneCause gifts include item and monetary donations, ticket sales, fixed price purchases, miscellaneous charges, and silent/live auction winnings. You can accomplish this using the following steps:
1. Go to the Import Gifts from OneCause tab.
2. Under the "Select Event" section, select the OneCause Event from which to import gifts.
3. Select any desired transaction types under the "Select Transaction Types" section. This includes: Money Donations, Item Donations, Fixed Price Purchases, Silent Auction Winnings, Live Auction Winnings, Ticket Purchases, and/or Miscellaneous Charges.
NOTE: For optimal results, please use separate batches for each Transaction Type (e.g. sync Silent Auction gifts first, then sync Money Donations, and so on).
4. Select the "Preview" button under the "Select Gifts" section to generate a list of gifts of the selected transaction type(s) from the selected OneCause event. Choose the desired gifts to import as Salesforce Opportunities.
5. Select the data fields to map under the "Select Fields" section. Remember that you can change which OneCause and Salesforce fields map to each other under the Settings tab!
6. Select "Convert" to sync. You will be able to review a list of the new/updated Opportunities on a subsequent page.
Importing Gifts - User Input Values
Mapping to Campaigns or other record types
Using section 5 on the Import Gifts from OneCause can assist you with additional mapping to objects that are not included out of the box with the application, such as Campaigns or specific record types if you've created different types of Opportunities, for example.
When importing gifts, if you need to set this batch of gifts (Opportunities) to a specific record type or object, you'll need two things to complete this:
- You'll need a field on your Opportunity to map to
- You'll need your Salesforce ID of the record type or object that you intend to reference
In the left column of section 5, you'll paste your Salesforce ID for the record type you are mapping to. On the right side, you'll choose a field from your Opportunity to map this Salesforce ID to.
Take a look at this instructional video as an example of how to map to a campaign, which is followed by a video on how to use Process Builder to map using more customization.
User Input Values
Process Builder
NOTE: For optimal results after using section 5 when importing gifts, please double check this section before subsequent imports to ensure that your imports will be mapped correctly. A value placed in section 5 will remain there, so if you intend to import additional gifts differently, such as to a different Opportunity type, you'll need to clear this out or replace with the appropriate Salesforce ID
Security and Permissions
Transferring Data
Please keep in mind that OneCause and Salesforce are independent systems.
Once data is transferred from Salesforce into OneCause, Salesforce has no control over what happens to that data. Its security is dependent on OneCause’s walls. In the same manner, once data is transferred from OneCause into Salesforce, OneCause has no control over what happens to that data. It is subject to Salesforce’s security and policies.
Salesforce Permissions
Access to the OneCause Connect app inside Salesforce may be granted by your Salesforce Administrator. It is important to note that once access to OneCause is authorized, it persists for any Salesforce user with access to the app in Salesforce. Other Salesforce users with access to the app will not see your username, password, or session, but they will be permitted to perform data transfers with the authorization you initiated. Only give trusted Salesforce users access to the OneCause Connect app.
Critical Update from Spring 2020
Salesforce released a critical update to revoke read access to custom settings using APIs from users without the Customize Application permission. If you are receiving errors like "JS Remoting Exception: Attempt to de-reference a null object", you may need to address this permission setting in Salesforce. Specifics can be found [HERE] in these Salesforce release notes.
Need help? When you contact OneCause Support, you may be connected with our Professional Services Team to help with Salesforce integration.